What print then cut means
You print the artwork on sticker paper with an ordinary printer, then the cutting machine cuts round each one. The machine needs to know where the edge is. That edge is the cut line, and it normally sits a little outside the artwork so each sticker has an even border.
Step by step in Tracesmith
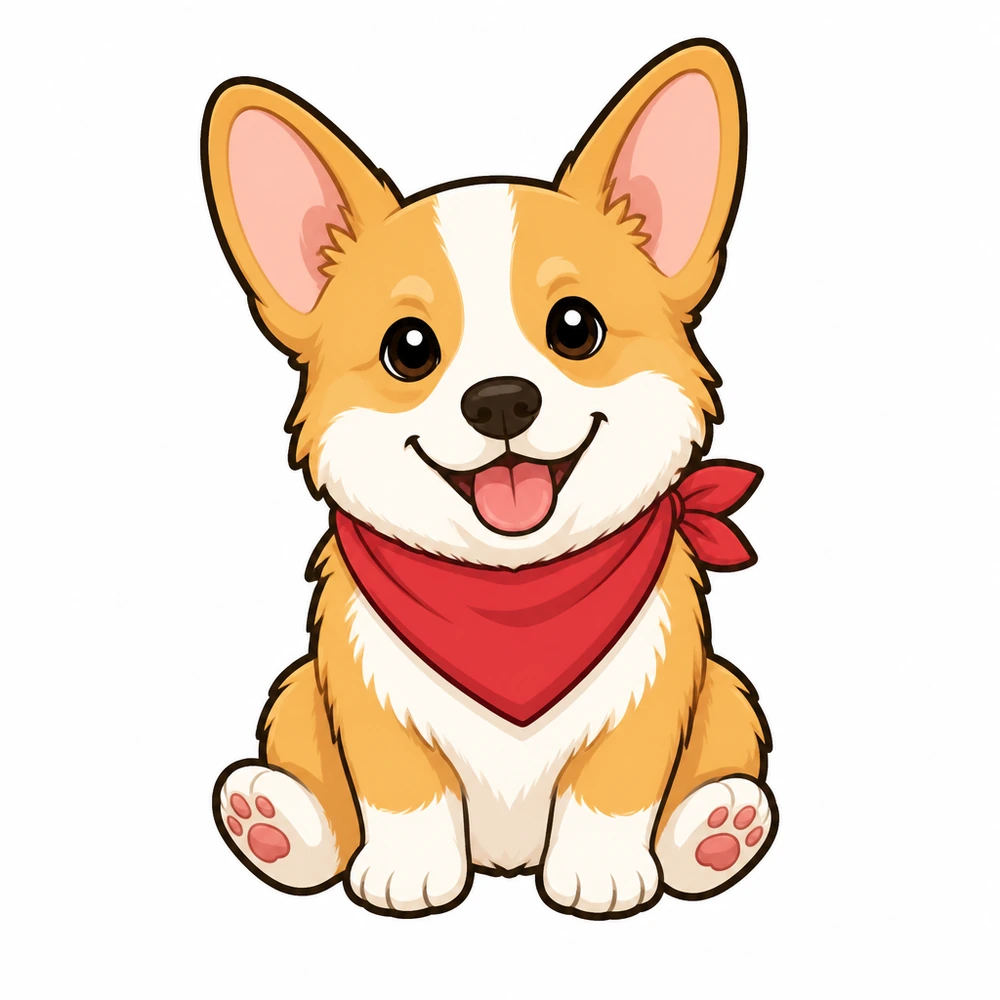

- Choose the job. Open Tracesmith, tap Sticker, then Choose a picture.
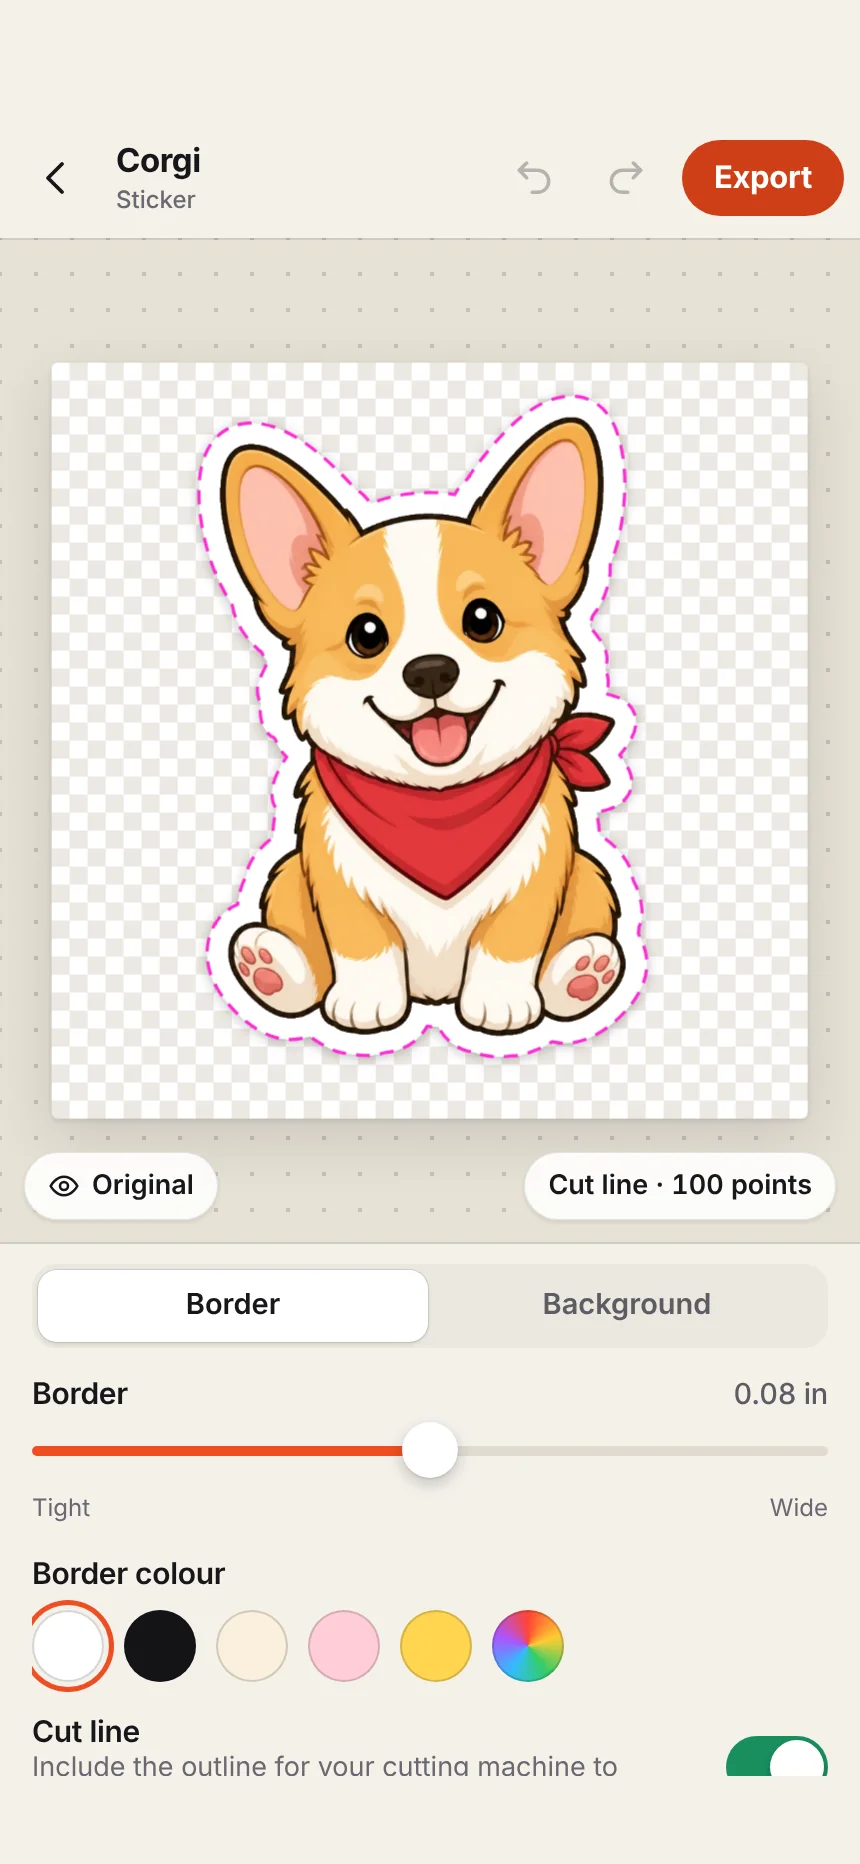
- Check the background. A plain background is removed from the edges inwards by itself. Under Background, drag How much to remove if some is left behind or too much has gone. A picture that already has a see-through background is used as it is.
- Set the border. Under Border, drag the slider from tight to wide and pick a Border colour. White is the classic sticker look.
- Keep the cut line on. Cut line adds the outline your machine follows.
- Export. Tap Export and type the finished width of one sticker. Choose PNG at 300 dpi for printing, or SVG if your software reads the cut line from the file.
Printing and cutting with a Cricut
- In Cricut Design Space, tap Upload and choose the PNG.
- Save it as a printable image, the kind Design Space uses for Print Then Cut. The see-through background means the edge of the white border becomes the cut.
- Add it to the canvas, set the size, and make as many copies as fit the sheet.
- Send it to your printer when Design Space asks, then load the printed sheet on the mat and cut.
Printing and cutting with a Silhouette
Silhouette Studio adds registration marks to the page so the machine can find the print. Open the PNG, turn on the registration marks, and either trace the outer edge in Studio or bring in the cut line from the file. The SVG export carries the cut line for Designer Edition and up. The DXF export holds the same outline for the free edition.
Getting clean stickers
- Give the blade room. A border that is too tight shows every small slip. If the cut wanders into the artwork, widen it.
- Print at actual size. If your printer shrinks the page to fit, the cut will be off. Choose 100% in the print settings.
- Busy background? For a photograph, cut the subject out first. In the Photos app, touch and hold the subject, choose Copy, then use Paste a picture in Tracesmith.
- Test on plain paper. One sheet of ordinary paper tells you whether the cut lines up before you use sticker paper.